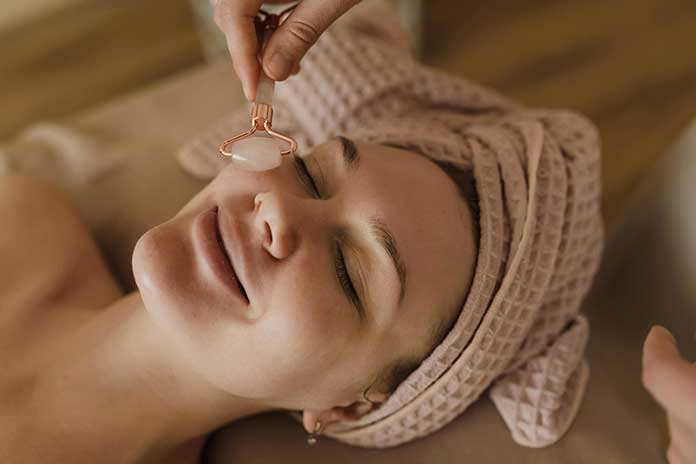
There’s nothing like an anti-wrinkle massage to plump up facial skin naturally! Facialist Delphine Langlois shares these easy exercises to perform in the morning and evening when applying treatments.
With Your Hands: A Plumping Anti-Wrinkle Massage
The technique: with the pulp of the thumb and index finger, make small, dry, deep, and quick pinches of half a centimeter to reach both the skin and the muscle. Be careful not to separate the skin and muscle by pulling towards the outside of the face. Otherwise, the tone of the skin will loosen. Pinch along several lines:
- Starting from the chin, follow the jaw and mandible bone to the earlobes;
- Starting from the corners of the lips, passing through the middle of the cheeks, and ending in the middle of the ears;
- Starting from the side of the nose, follow the cheekbone to the top of the ears.
At the level of the crow’s feet, imagine and pinch the following three mini lines from the inner corner of the eye to the hairline, downwards, in the middle, and upwards.
Continue to pinch along the eyebrows. Then, from the forehead from the inside to the outside and back down along the hairline. Continue along the neck: from the top of the neck to the bottom and from the bottom to the top. Finally, reposition your hands at the top of the neck, at the level of the earlobes, and pinch down to the chin.
With A Jade Roller: A Draining Anti-Wrinkle Massage
The technique: Position the long side of the roller at the base of the jaw and drain the neck using a movement from the top towards the base of the neck. Once you reach the bottom, let go and come back to the top. Repeat the exercise using the following lines from the top of the neck to the base of the neck and all the way around the neck. Then repeat the same exercise on each side of the face as follows:
- The chin line to the earlobes;
- The line from the corner of the lips to the middle of the ears;
- The line of the wings of the nose to the top of the ears.
For the eye area, use the small side of the roller and apply pressure for 5 seconds to the inner corner of the eye. Drain under the eye in a movement from the inner corner to the outer corner of the eye.
Repeat the exercise above the eye. Then, drain the crow’s feet in a motion from the outer corner of the eye towards the hairline. Repeat the exercises on the other eye. On the forehead, also use the short side of the roller to drain the lymph from the inside to the outside of the forehead. At the end of each exercise, massage with the roller to bring the lymph from the top of the face – passing through the outside – to the collarbone, the place of lymphatic return.
With A Gua Sha: A Lifting Anti-Wrinkle Massage
The technique:
- Start at the neck by placing the edge of the curved part of the Gua Sha at the base of the neck.
- With the opposite hand, hold the tissues at the base of the neck.
- Stretch the neck muscle fiber with the scraping technique.
- Apply medium to deep pressure to grip the muscle fiber firmly.
On the cheeks, still with the edge of the curved part of the Gua Sha, perform the grid technique:
- From the base of the cheek, the jaw to the zygomatic bone to lift and tone the cheek;
- Then position yourself in the other direction, the edge of the Gua Sha in the nasolabial fold, and scrape from the inside to the outside.
Pinch the upper lip at the mouth. Position the edge of the curved Gua Sha against the skin, with the Gua Sha horizontal on the ground. Scrape in a top-down motion. Repeat the exercise under the bottom lip. For the eye area, place the Gua Sha flat with the curved part directly under the lower eyelid. Leave a Gua Sha on – preferably very cool for a decongestant and vasoconstrictor effect and thus revive blood circulation and reduce dark circles and puffiness.
Smooth the skin in an inward-outward motion. Work the crow’s feet with the rounded part of the Gua Sha. Scrape the temple from the outer corner of the eye to the hairline. Finally, place the tip of the Gua Sha under the eyebrow, grab the orbicularis oculi muscle, and lift the eyebrow in a movement from the inside to the outside. Repeat these exercises on each eye.
Place the curved part of the Gua Sha in the center at forehead level. The accessory is positioned parallel to the nose and then perpendicular to it. Using the grid technique, scrape from the inside to the outside and from the top to the bottom. Repeat the exercise over the entire forehead.
Also Read: Makeup, Do You Know What’s Inside Your Face Powder?

